Create a New Testimonials Widget in Reputebee
Introduction:
Thank you for choosing [Your Product Name] to showcase your reviews! We’re excited to guide you through the process of creating and embedding a widget into your HTML webpage.
Prerequisites:
Before we dive in, make sure you’ve got these covered:
- Set up your review collection and importing options so that there are reviews to display in your widget.
Step 1: Log in and Access Your Dashboard:
- Log in to your app.reputebee.com account.
- Navigate to your dashboard by visiting https://app.reputebee.com/.
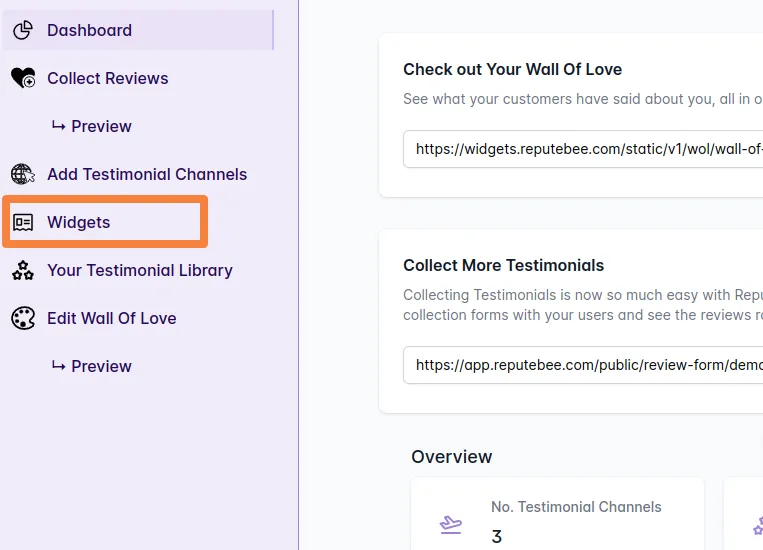
Step 2: Access the Widgets Panel:
- Click on “Widgets” in the left navigation.
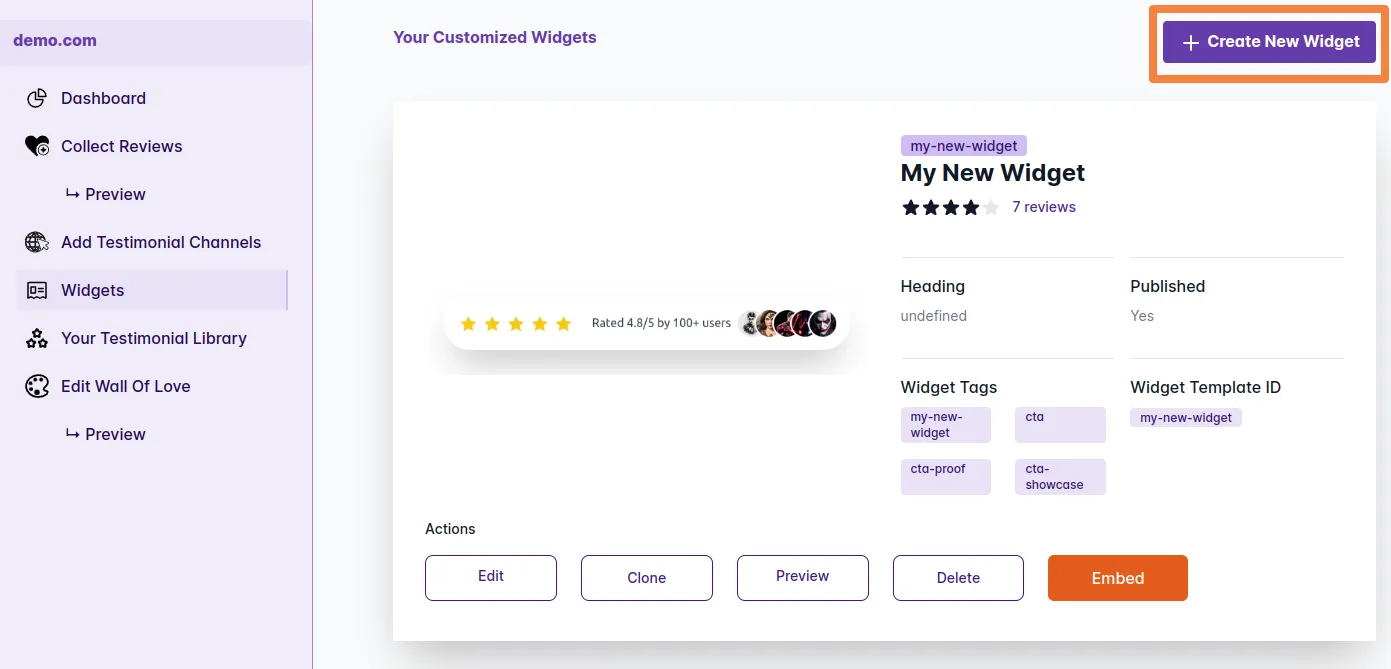
Step 3: Create Your Widget:
- Click “Create New Widget.”
Step 4: Choose Your Widget:
- Select the widget that best suits your website’s goals and needs.

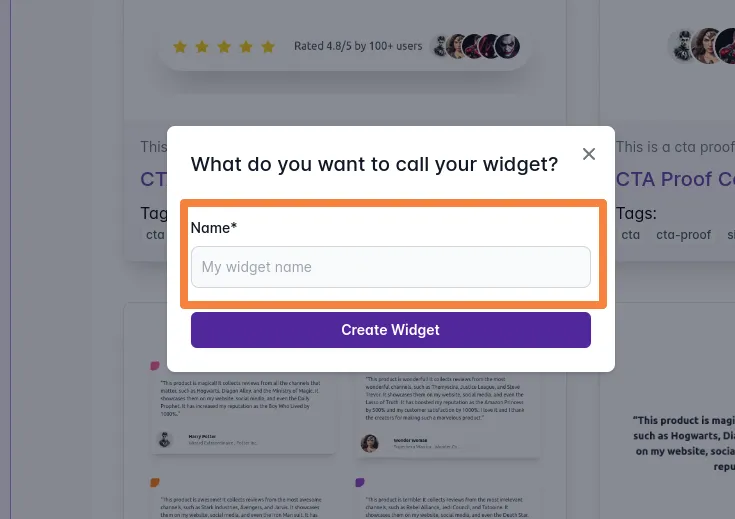
Step 5: Name Your Widget:
- Enter a name for your widget in the “Name*” input field.
Step 6: Select Reviews for Your Widget:
- Preview your widget with sample data.
- Choose the reviews you want to showcase, keeping in mind any minimum or maximum requirements based on the widget type.
- Observe the real-time updates to the widget preview as you adjust settings.
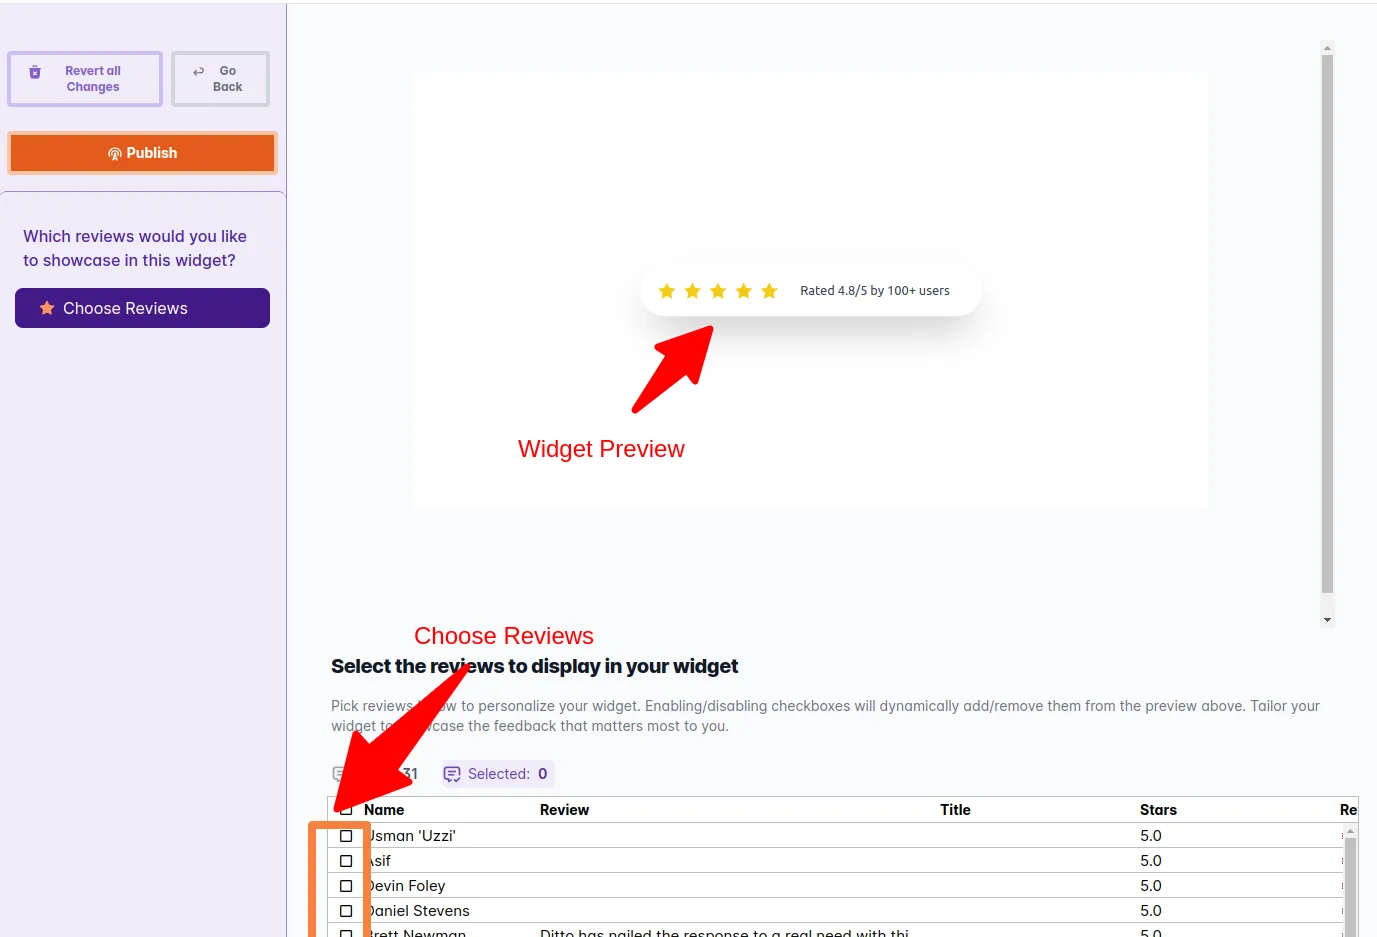
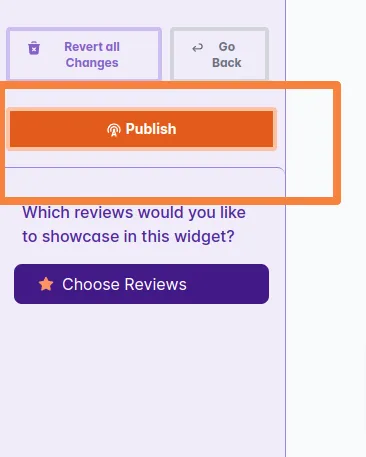
Step 7: Publish Your Widget:
- Ensure the preview displays the selected reviews.
- Click “Publish” to make your widget publicly available.
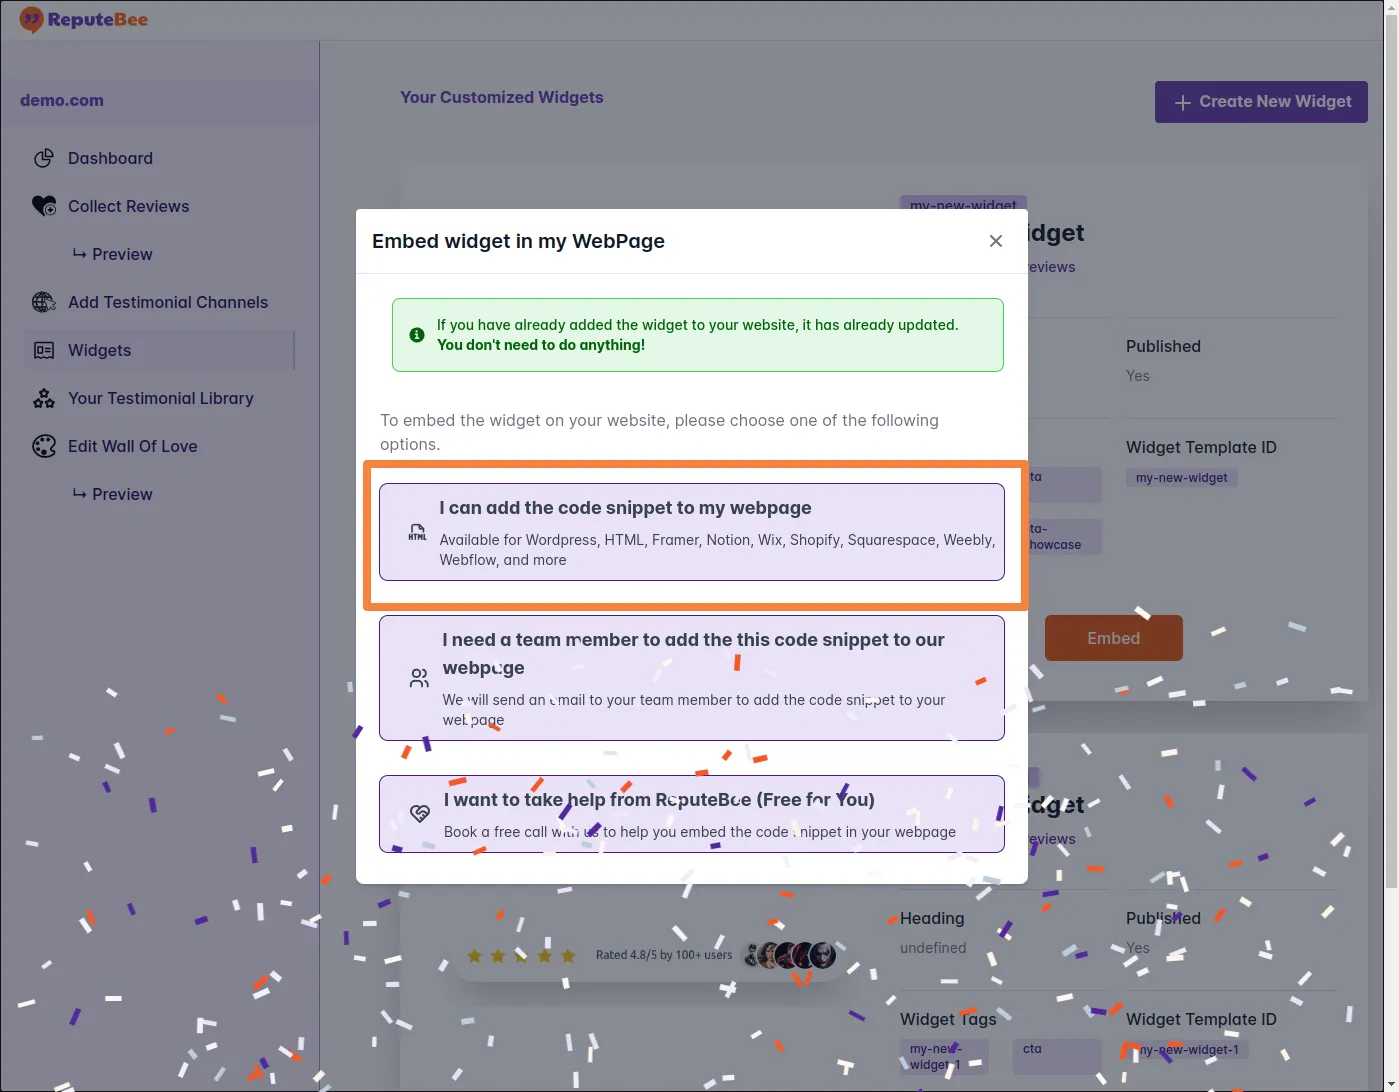
Step 8: Embed Your Widget into Your HTML Page:
- After publishing, obtain the code to embed the widget into your website.
- Click “I can add the code snippet to my webpage” to get the code.
Great job! You’ve successfully created and published your Testimonials Widget. If you have any questions or need assistance, refer to our support documentation or reach out to our customer support team. Thank you for choosing ReputeBee!