Embedding Widget into Your WordPress page
Introduction:
Welcome! This guide is here to help you effortlessly add your Testimonials Widget to your WordPress page using an iframe.
Prerequisites:
Before we start, make sure you’ve created your widget by following our simple instructions in the documentation: Create a new widget in ReputeBee. If you’re new to adding custom HTML to your WordPress page, check out WordPress’s guide on adding custom HTML.
Step 1: Navigate to Your WordPress Website:
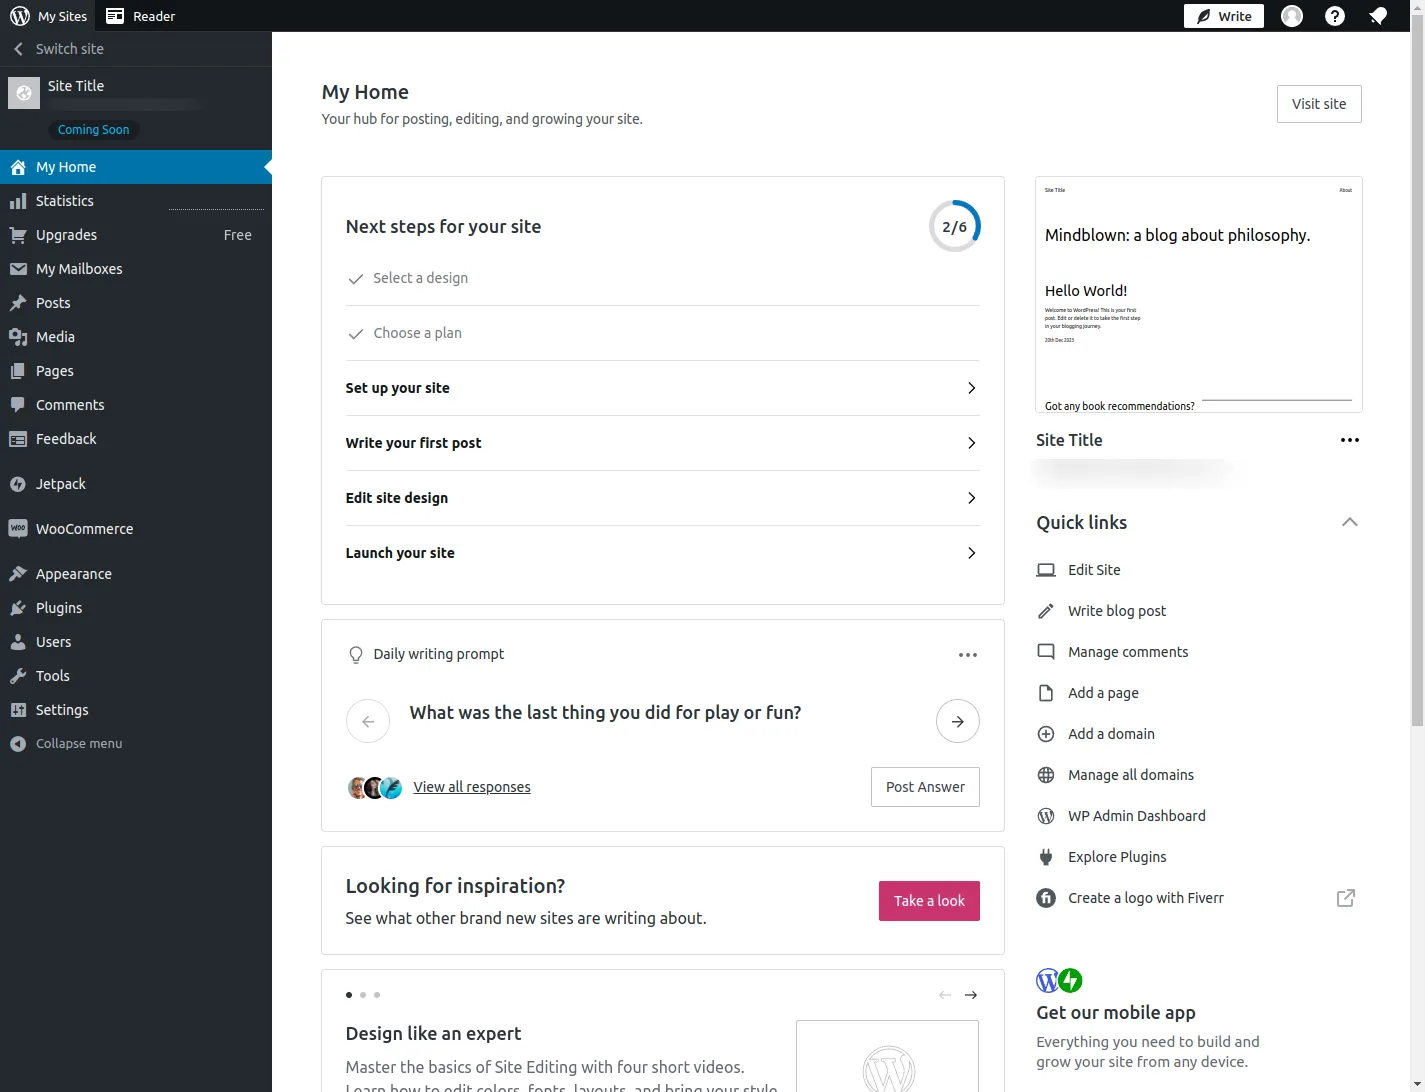
- Open your web browser and go to the WordPress home page for your website: https://wordpress.com/home/
- Your dashboard should look something like this:
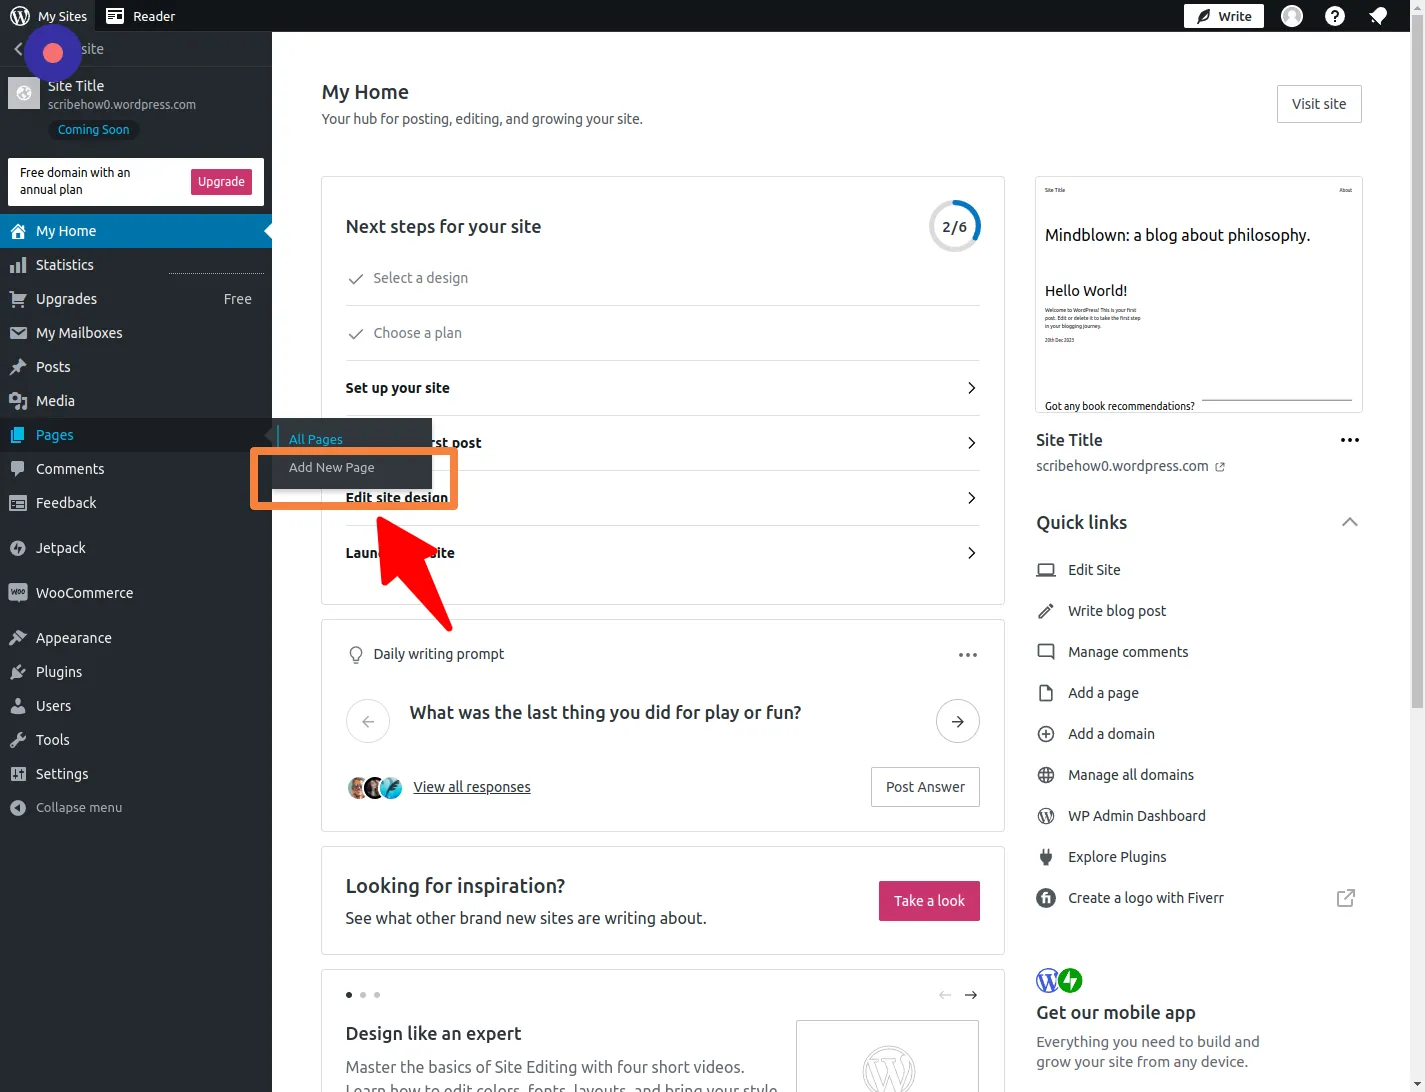
Step 2: Add a New Page:
- Click on “Add New Page” to create a fresh page where you’ll embed your widget.
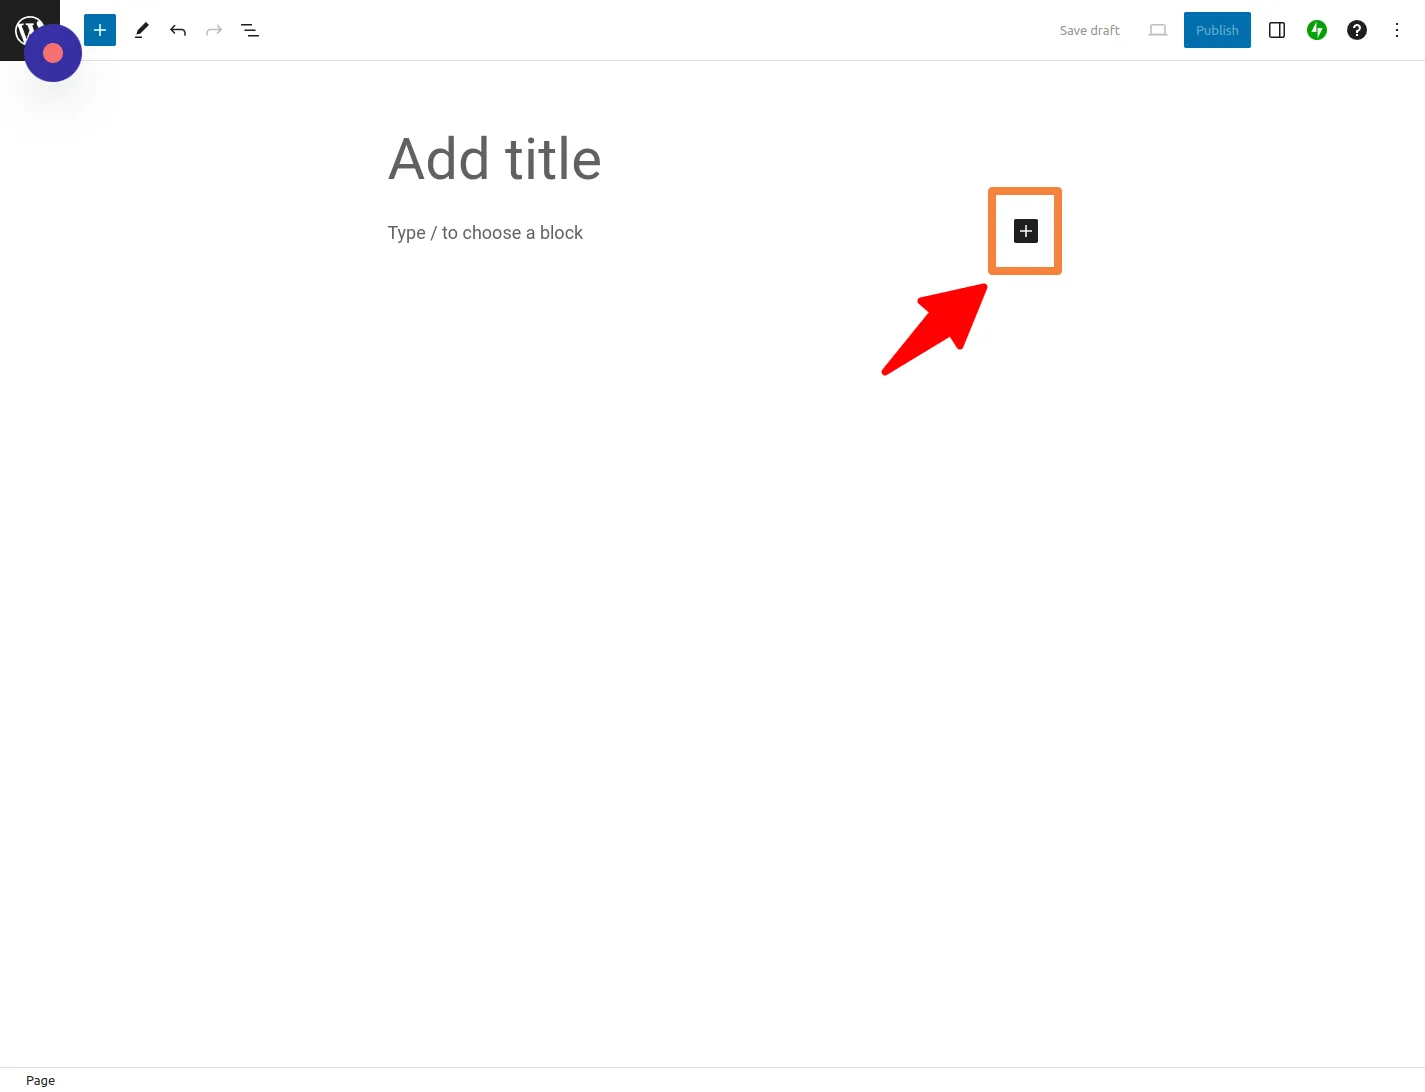
Step 3: Add a Block:
- Click on the ”+” icon to insert a new block into your page.
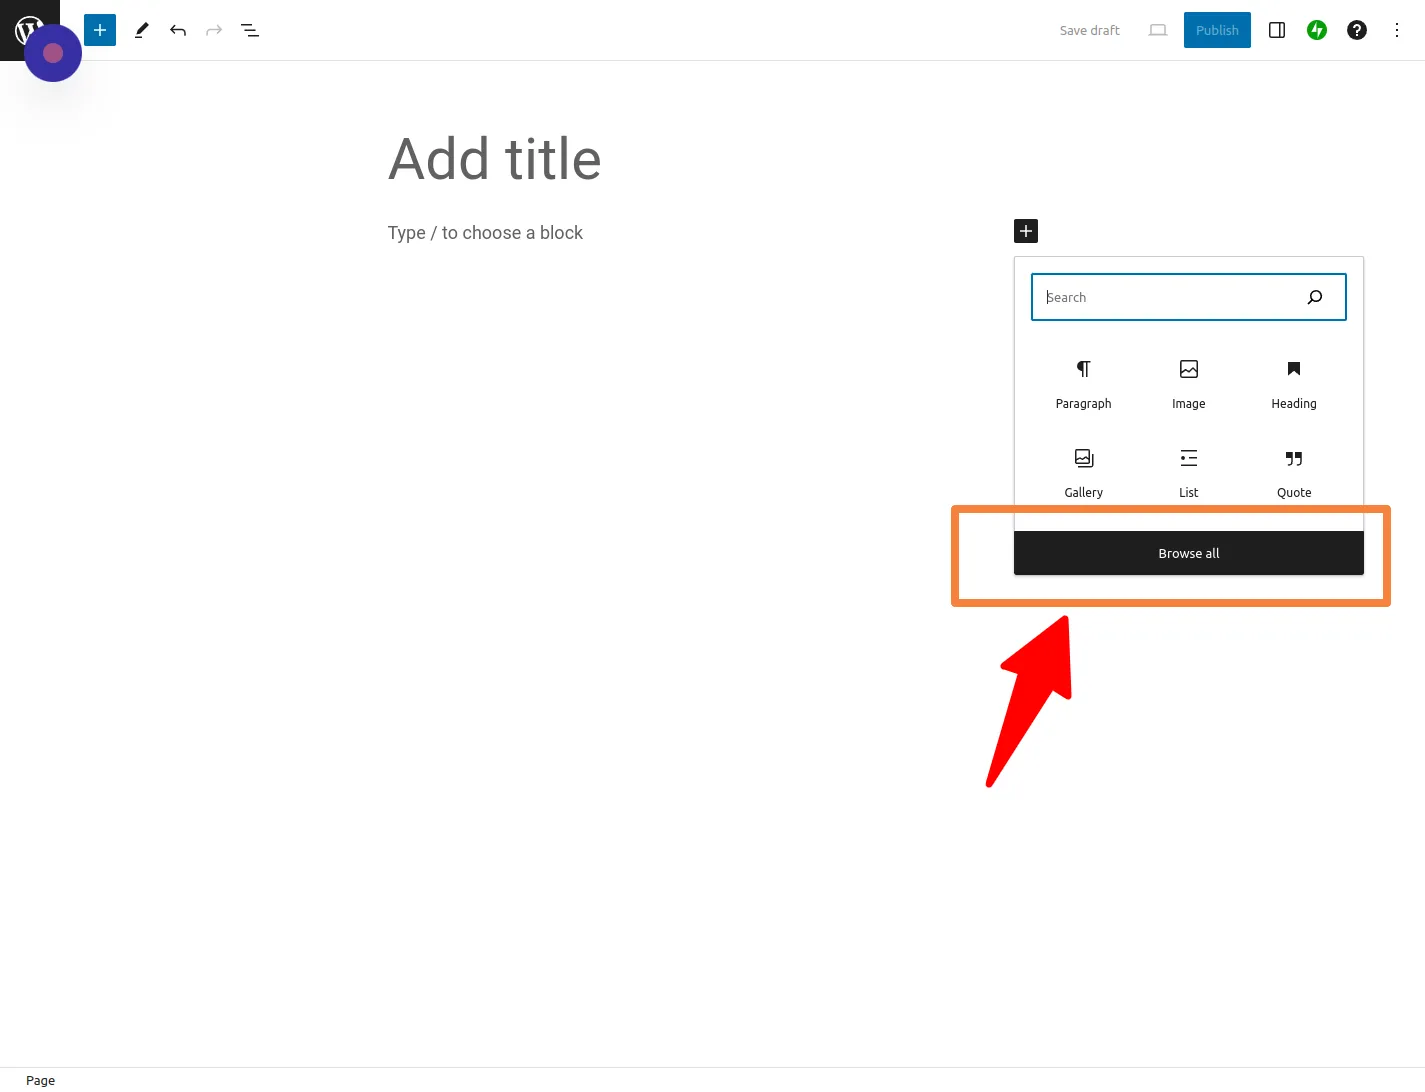
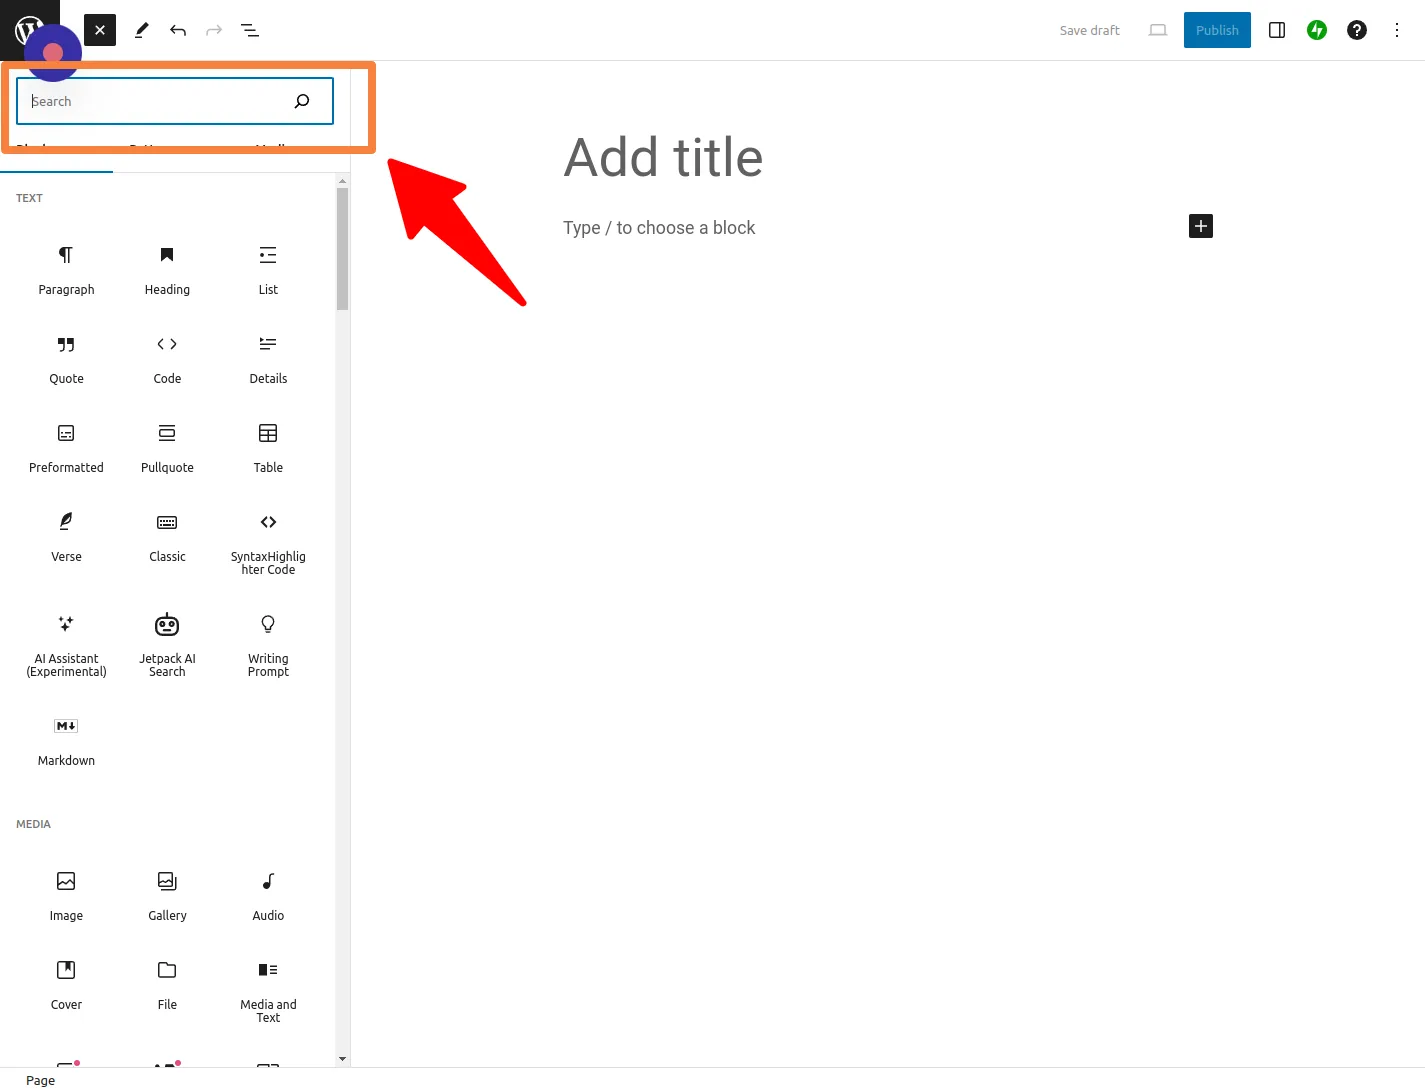
- Click on “Browse all” to explore available blocks.
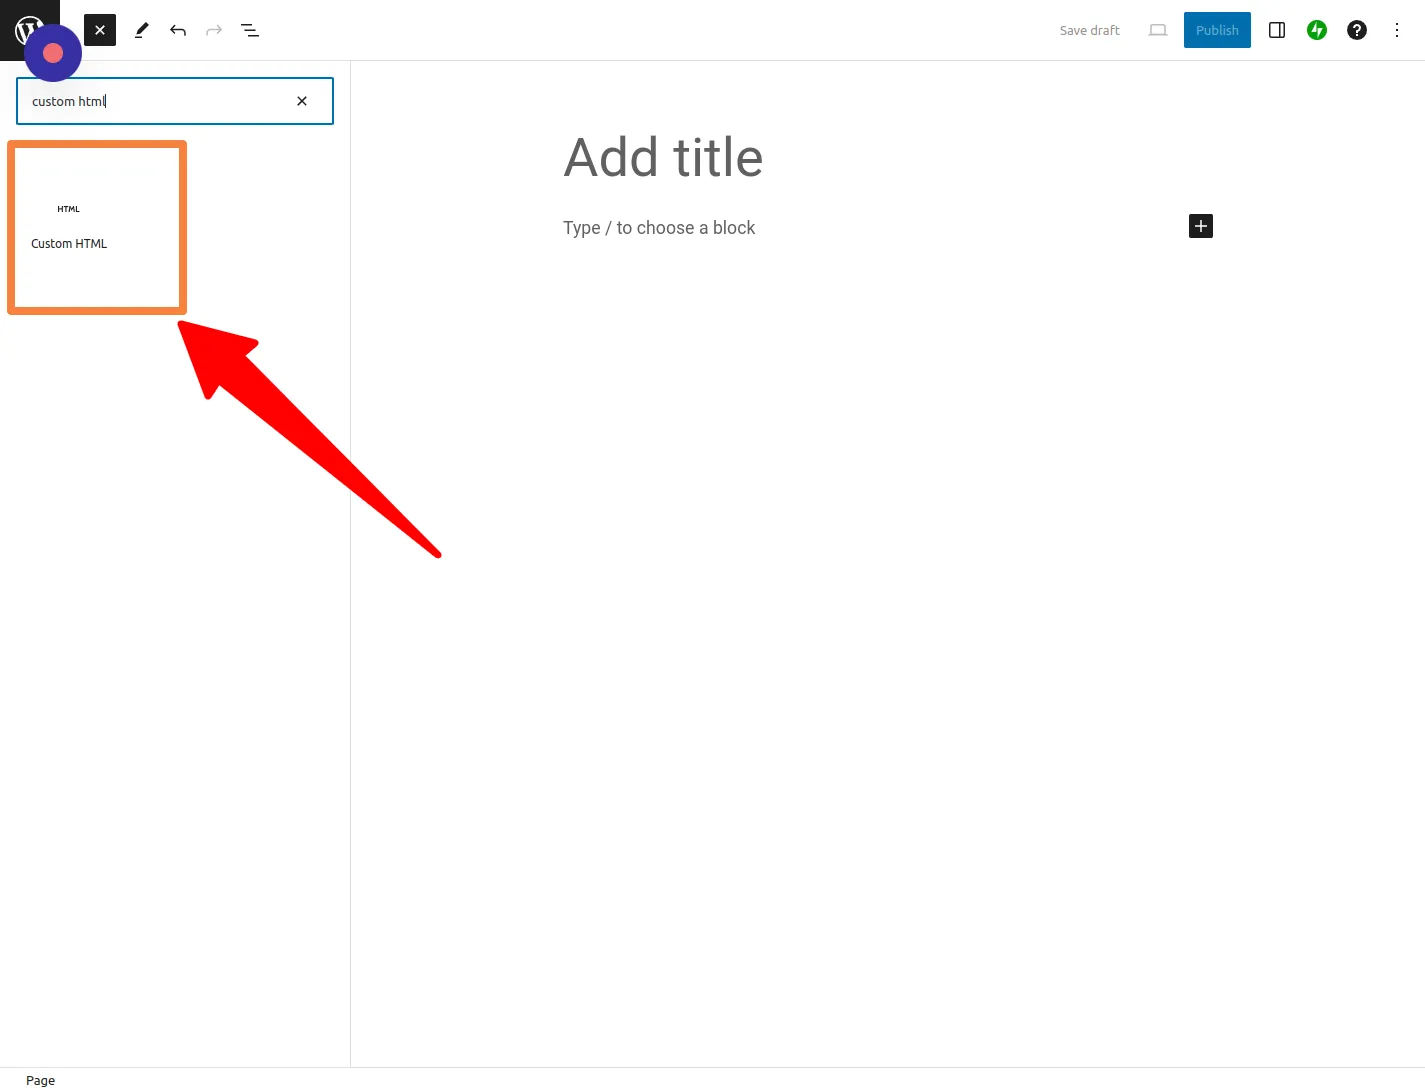
- In the search bar, type “custom HTML” to find the custom HTML block.
- Select the “Custom HTML” block.
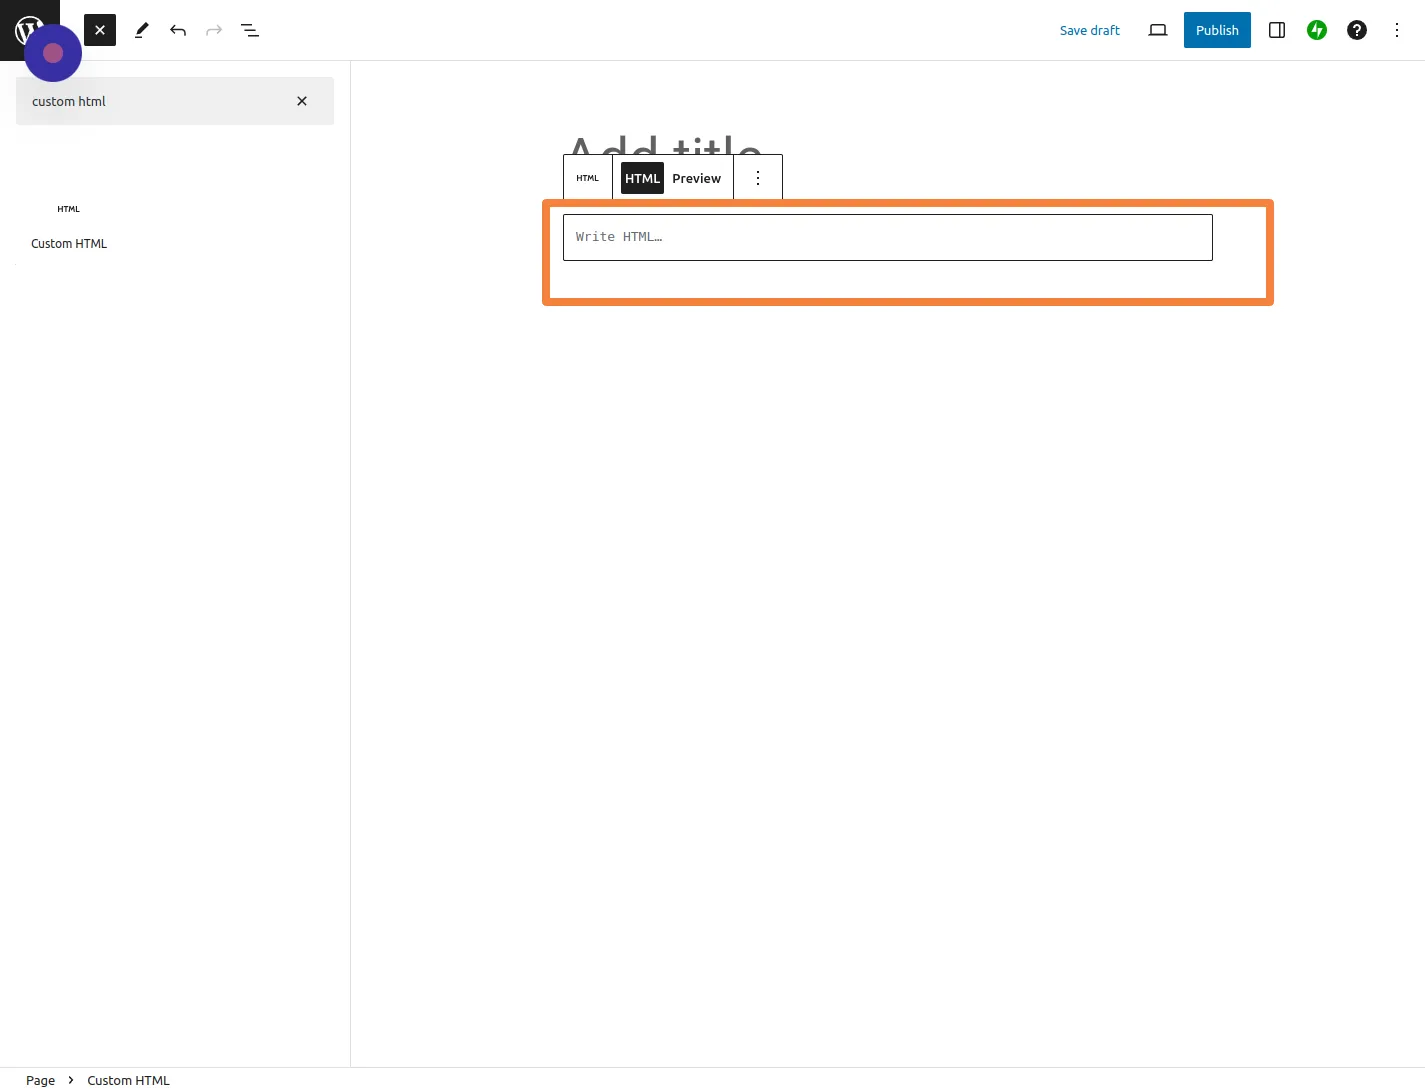
Step 7: Add Widget iframe code:
- In the Custom HTML block, you’ll find a text box.
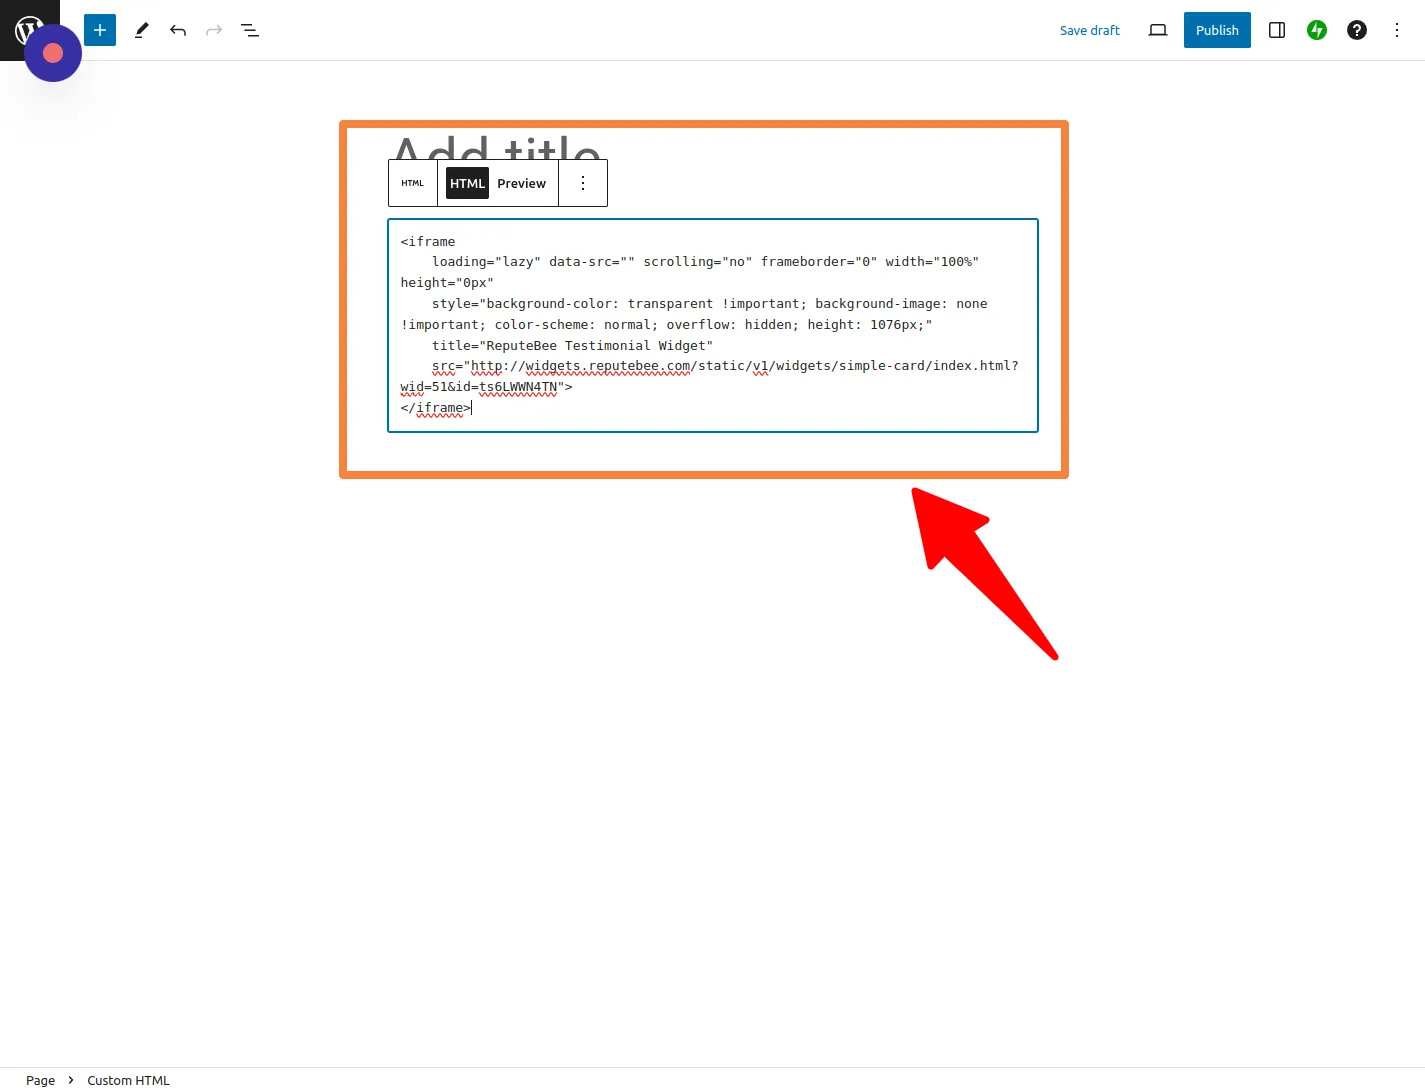
- Paste the HTML code copied while creating the widget. If you haven’t created the widget yet, follow our widget creation guide: Create a new widget in ReputeBee.
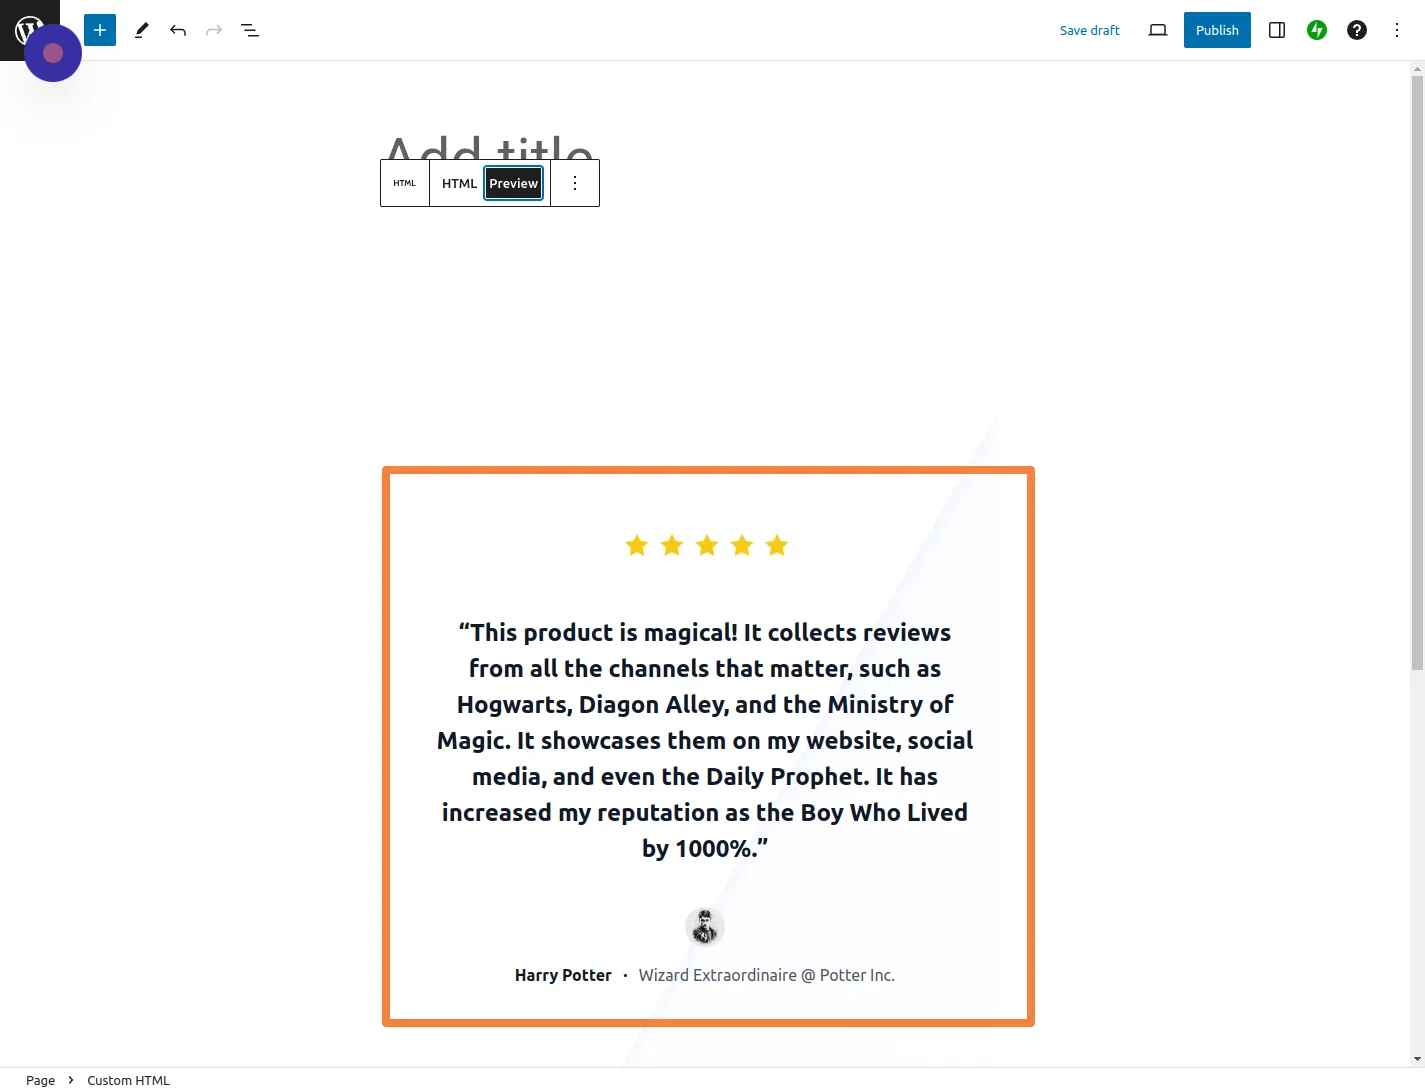
Step 8: Preview:
- Click “Preview” to see how your widget will appear on your page.
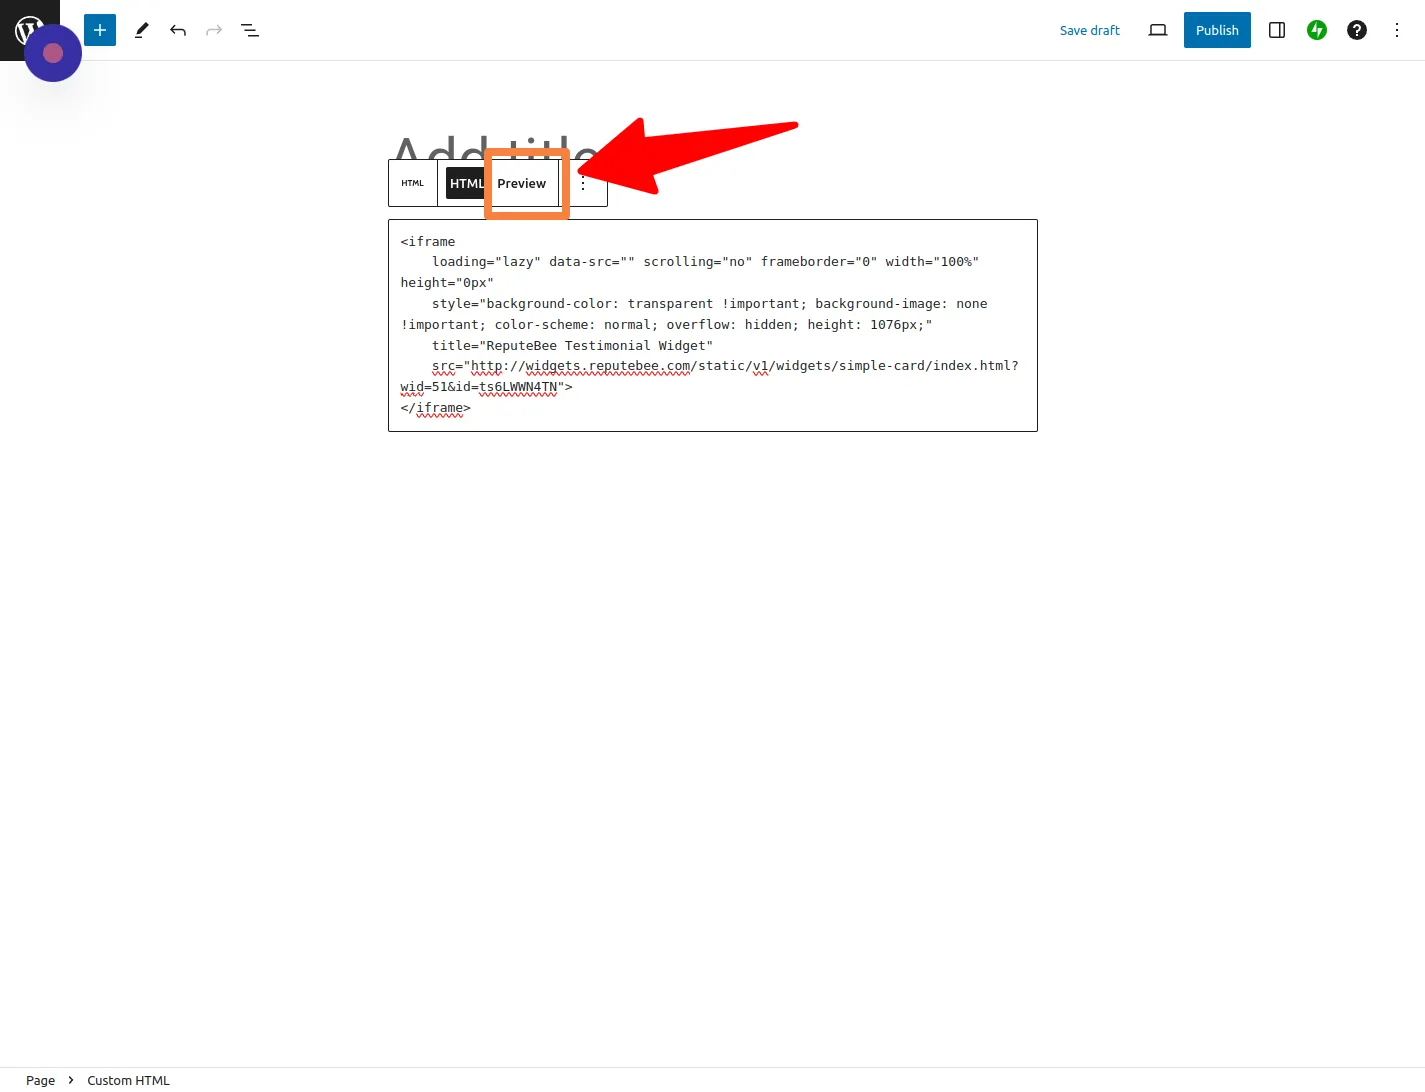
- Review the preview; if needed, go back and make changes to your widget.
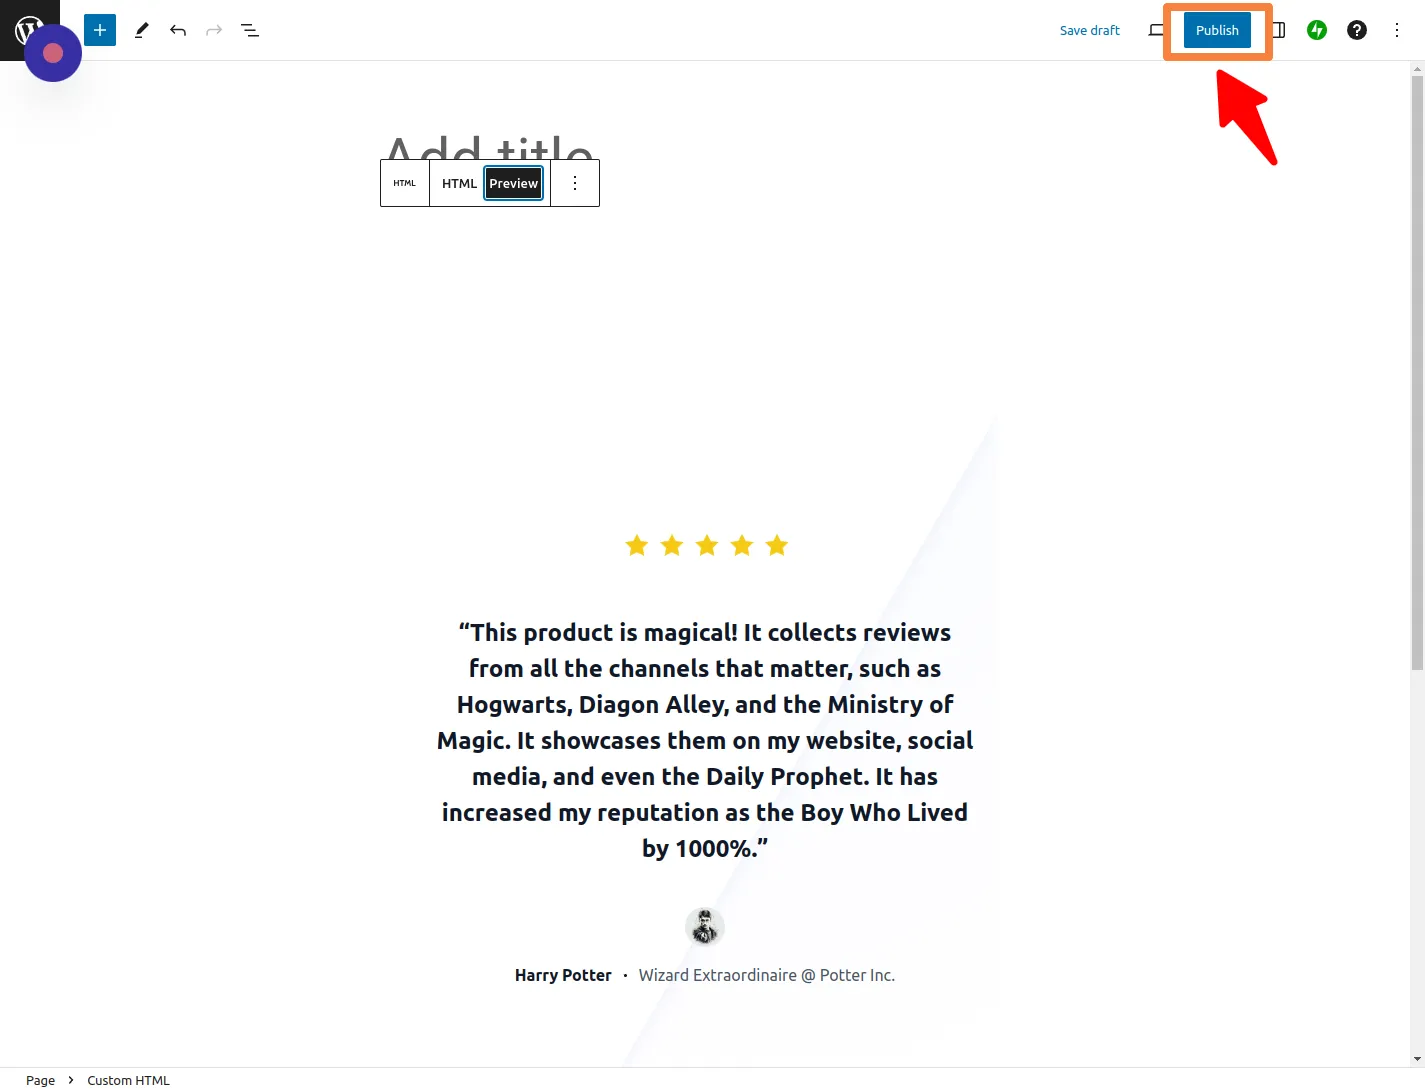
Step 9: Publish:
- If satisfied, click “Publish” to make the changes live on your page.
Step 10: View the Page:
- After publishing, click “View Page” to see your widget embedded in your WordPress page.
Congratulations! 🎉 You’ve successfully added your widget to your WordPress page using an iframe. If you need assistance or have questions, refer to our support documentation or reach out to our customer support team.